7 Best Webcam Settings for Professional Video Calls

Want to look sharp and professional on video calls? Start by optimizing your webcam settings. Here's a quick rundown of what you need to do:
- Resolution & Frame Rate: Stick to 1080p at 30fps for smooth, high-quality video without overloading your internet.
- Lighting: Use a three-point lighting setup for clear, flattering visuals, and aim for a light temperature of 4000K-4500K.
- Focus & Field of View: Adjust focus manually for a sharp image, and choose a field of view (FOV) that suits your room size (e.g., 78° for personal calls).
- Color & White Balance: Fine-tune white balance to match your lighting (e.g., daylight at 5000-5500K) for natural skin tones.
- Audio Sync: Ensure your audio and video are perfectly aligned, especially when using an external microphone.
These simple tweaks can make a big difference in how you're perceived during professional video calls. Whether you're presenting to clients or attending team meetings, looking and sounding your best is easier than you think. Let's dive into the details!
How to IMPROVE Your Webcam Quality in OBS Studio
1. Setting Up Resolution and Frame Rate
Getting the right resolution and frame rate is key to ensuring professional-quality video calls.
4K vs 1080p: Which One Works for You?
Choosing between 4K and 1080p comes down to your internet speed and needs. 4K resolution requires an upload speed of at least 25 Mbps, making it suitable for high-detail presentations. On the other hand, 1080p (1920x1080) is a great option for most meetings, requiring just 3 Mbps.
Here’s a quick breakdown:
| Resolution | Speed Needed | Best For |
|---|---|---|
| 720p | 1.5 Mbps | Low-bandwidth situations |
| 1080p | 3 Mbps | Everyday meetings |
| 4K | 25+ Mbps | High-detail visuals |
Once you’ve picked the right resolution, it’s time to focus on frame rate for smooth motion.
How to Choose the Right Frame Rate
Frame rate affects how smooth your video looks. While 60 fps offers very fluid motion, 30 fps is widely used in professional settings. Here’s what to consider:
- 30 fps: Perfect for most meetings and presentations.
- 60 fps: Ideal for product demos or anything with a lot of movement.
If your connection struggles, a stable 1080p/30fps setup will look better than choppy 4K/60fps. Many platforms, like Zoom, automatically adjust video quality, but it’s always smart to test your settings before important calls.
With resolution and frame rate sorted, the next step is fine-tuning your lighting for an even better video experience.
2. Lighting Setup for Clear Video
Good lighting can make a world of difference in your video call quality. Even the best webcam won't perform well if the lighting is off - it can hide your facial expressions and weaken your presence during important meetings.
Three-Point Lighting Guide
The three-point lighting setup is a go-to method for achieving professional-looking video calls. Here’s how to set it up:
- Key light: Place your main light source at a 45° angle from the front/side, about 2-3 feet away at eye level. An LED panel or natural light from a window works great for this.
- Fill light: Add a softer light on the opposite side of the key light, about 3-4 feet away, to soften shadows on your face.
- Back light: Position a small desk lamp or similar light behind you, angled toward your shoulders, to create depth and help you stand out from the background.
AI Light Correction Features
Many modern webcams come with AI-driven lighting tools to handle tricky light situations. These include:
- Auto-exposure: Automatically adjusts brightness so your image isn’t too dark or too bright.
- Color correction: Keeps your skin tone looking natural, even under different lighting setups.
To get the best results, set up your lighting and sit in your usual spot before enabling these features. Let the AI calibrate, then make any final adjustments. Aim for a light temperature of 4000K-4500K to keep things consistent, whether it’s day or night.
Once your lighting is sorted, tweak your camera’s focus settings to ensure a sharp, distraction-free image.
3. Focus and Field of View Settings
Getting your webcam's focus and field of view (FOV) right is key to looking polished during video calls. These settings determine how sharp you appear and how much of your background is visible.
Manual vs Auto Focus
Webcams usually offer two focus modes: manual and auto. Auto focus is great for situations where you're moving around since it adjusts automatically to keep you clear. However, it can occasionally struggle, especially in dim lighting or if you wear glasses.
Manual focus is ideal for setups where you're stationary, offering consistent sharpness. High-end webcams like the Logitech Brio 4K are equipped to handle both focus modes effectively.
To fine-tune manual focus:
- Sit about 2-3 feet from the camera.
- Turn off auto focus in your webcam software.
- Adjust the focus slider until your image is sharp.
- Test by moving slightly to ensure clarity.
Choosing the Right Field of View
Your FOV setting depends on the size of your room and the purpose of your call. Here's a quick guide:
| FOV Range | Best For | Recommended Distance |
|---|---|---|
| 65-75° | Personal calls, small rooms | 2-3 feet |
| 75-85° | Small group calls | 3-4 feet |
| 85-95° | Conference rooms, presentations | 4-6 feet |
Professional webcams like the Dell UltraSharp often include preset FOV options. For most one-on-one calls, a 78° FOV (like the Logitech C920) strikes a good balance between focusing on you and including just enough background.
Position your face in the top third of the frame with minimal headroom. If your webcam supports auto-framing, consider enabling it for easier adjustments.
Once your focus and framing are set, you can move on to fine-tuning color accuracy for an even better presentation.
4. Color and White Balance Setup
Getting the colors right is essential for professional video calls. Research shows that speakers with natural-looking skin tones are seen as 23% more trustworthy.
Adjusting White Balance
Webcams typically offer both automatic and manual white balance settings. While the automatic mode works fine in steady lighting, manual adjustments can give you better results, especially for professional settings.
Here’s how to fine-tune your white balance:
- Start with Calibration: Hold a white card or piece of paper at eye level. Open your webcam settings in your video software and find the white balance controls.
- Tweak the Temperature: Adjust the color temperature to match your lighting:
- Tungsten bulbs: 2800-3200K
- Daylight: 5000-5500K
- Overcast: 6000-7000K
For example, the Logitech C920's Capture software lets you fine-tune using the Kelvin scale. If the white card looks yellowish or bluish, adjust until it appears pure white.
Using AI for Color Accuracy
Modern webcams now incorporate AI to improve color accuracy. A great example is the Lumina 4K webcam, which uses advanced algorithms to analyze your video frame and adjust colors in real-time. This technology adapts to lighting changes and ensures skin tones stay natural.
Why AI color correction is helpful:
- Adjusts for sudden lighting changes
- Keeps skin tones looking natural
- Works instantly without manual input
To get the best results from AI-enabled webcams:
- Use consistent lighting in your space
- Avoid mixing different light sources
- Turn on AI features in your webcam’s software
Once your colors are dialed in, don't forget to check your audio settings to ensure your voice syncs perfectly with your visuals.
5. Audio and Video Sync
Once you've nailed the visuals, it's time to ensure your audio aligns perfectly with the video. Humans can notice even a 45ms mismatch between audio and video, so proper synchronization is key to maintaining a polished and professional look. Poor sync can undo all the effort you've put into lighting and color adjustments.
Fixing Lip-Sync Issues
Lip-sync problems often arise from network delays, processing lag, or software settings. Here's how to address them:
- Run sync tests specific to your platform.
- Prioritize video processing in your system's resource allocation.
- Tweak audio delay settings directly in your operating system.
For example, Windows users can right-click the speaker icon, choose "Open Sound settings", and then go to "Device properties" to adjust audio delay. On a Mac, similar adjustments can be made through the audio settings.
Interestingly, Zoom's 2022 update added AI-powered lip-sync alignment, cutting perceived lag by 40% using real-time analysis.
Using External Mics with Webcams
External microphones can boost your audio quality, but they need to be set up carefully to avoid sync issues. Here's a quick breakdown:
| Setup Component | Recommended Standard |
|---|---|
| Connection | USB |
| Processing | 128-256 sample buffer |
| Quality | 48 kHz sample rate |
To keep your audio and video in sync when using an external mic:
- Set the external mic as your primary input in both system and software settings.
- Test your setup before any important calls or recordings.
- Keep an ear out for drift, especially during longer sessions.
If sync problems persist, check the specific settings of your platform, as each handles synchronization differently. Small tweaks can make a big difference!
Conclusion: Main Points for Webcam Setup
Once you've fine-tuned settings like audio sync and color balance, concentrate on these key elements to achieve a polished, professional look:
- Resolution and frame rate: Stick to 1080p at 30fps for a good balance between video quality and bandwidth usage.
- Lighting: Proper lighting is crucial for clear and flattering visuals.
- Camera positioning: Use the "pinch test" to leave 1-2 inches of headroom between your head and the top edge of the frame. This ensures proper framing and a professional appearance.
- Regular adjustments: Test focus and white balance weekly to keep your video looking sharp.
- System checks: Perform regular checks on your system to avoid any unexpected technical issues.
FAQs
What are the best settings for Logitech C920 webcam?
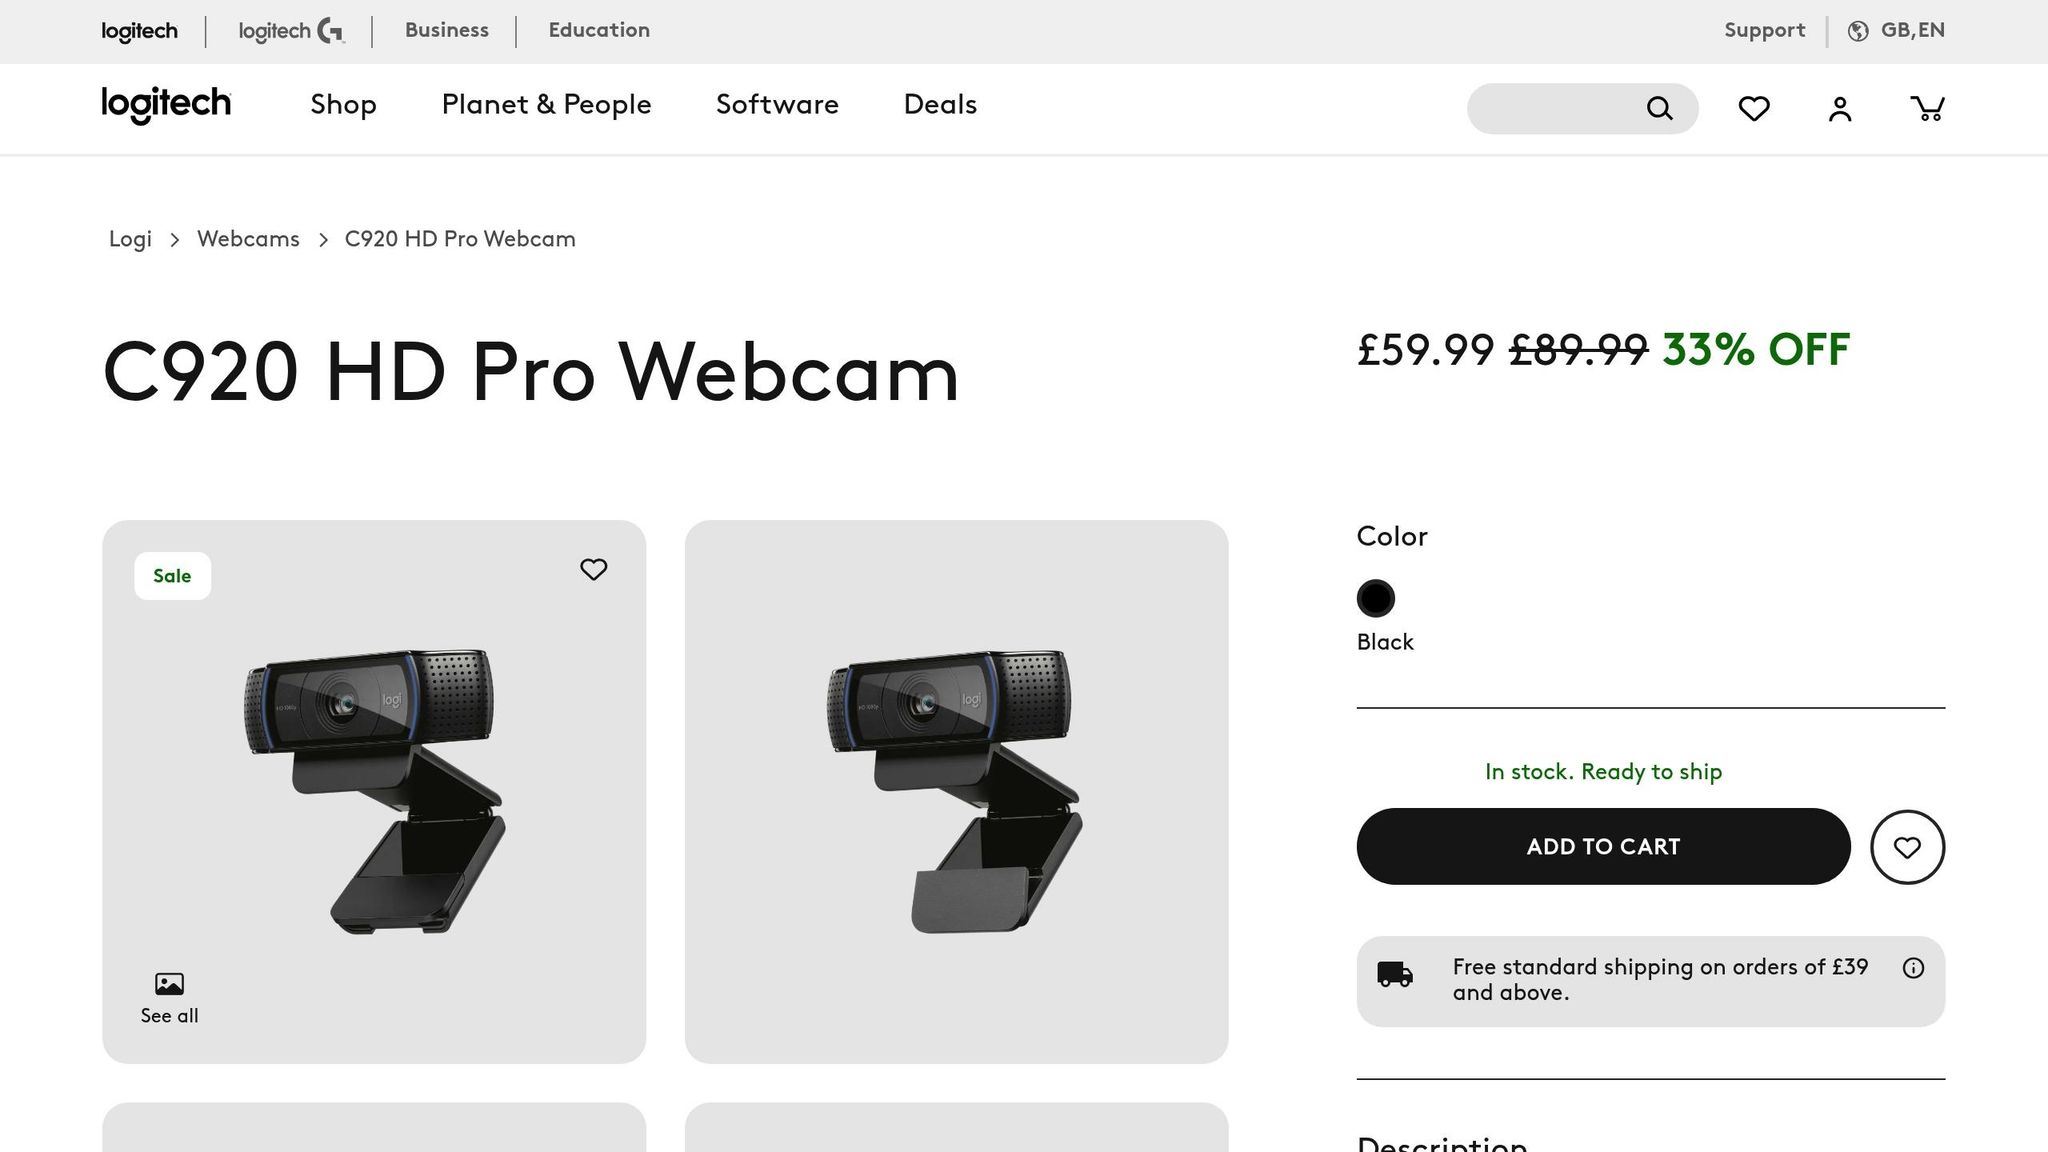
Here’s how to get the best out of your Logitech C920 webcam:
- Resolution: 1080p at 30fps
- Focus: Manual
- Exposure: -6 (1/64s)
- White Balance: Auto with manual fine-tuning
These settings match the principles of resolution and frame rate (see Section 1) and the benefits of manual focus (see Section 3).
How can I improve my webcam video quality?
To boost your webcam's video quality, adjust your system settings as follows:
For Windows users:
- Go to Start > Camera > Settings
- Turn on Pro Mode for advanced controls
- Set the resolution to 1080p
- Fine-tune brightness and contrast
Pair these tweaks with lighting tips from Section 2 for even better results.
How do I make my webcam better quality?
To improve your webcam quality, focus on these areas:
-
Technical Adjustments
- Keep your webcam drivers and firmware up to date
- Follow the resolution and frame rate guidelines from Section 1
- Use manual focus for a sharper image
-
Lighting Improvements
- Use three-point lighting as described in Section 2
-
Audio Enhancements
- Connect an external microphone (see Section 5 for details)
- Ensure your audio and video are synced in your conferencing software
-
Setup Tips
- Position the camera slightly above eye level
- Maintain proper distance using the FOV guidelines in Section 3
Related posts
- How to Look Professional in 4K Video Meetings
- Ultimate Guide to 4K Webcams for Remote Professionals
- Top 8 Features to Look for in a Professional Webcam
- Ultimate Guide to Lighting for Virtual Backgrounds