How to Adjust Webcam White Balance Settings
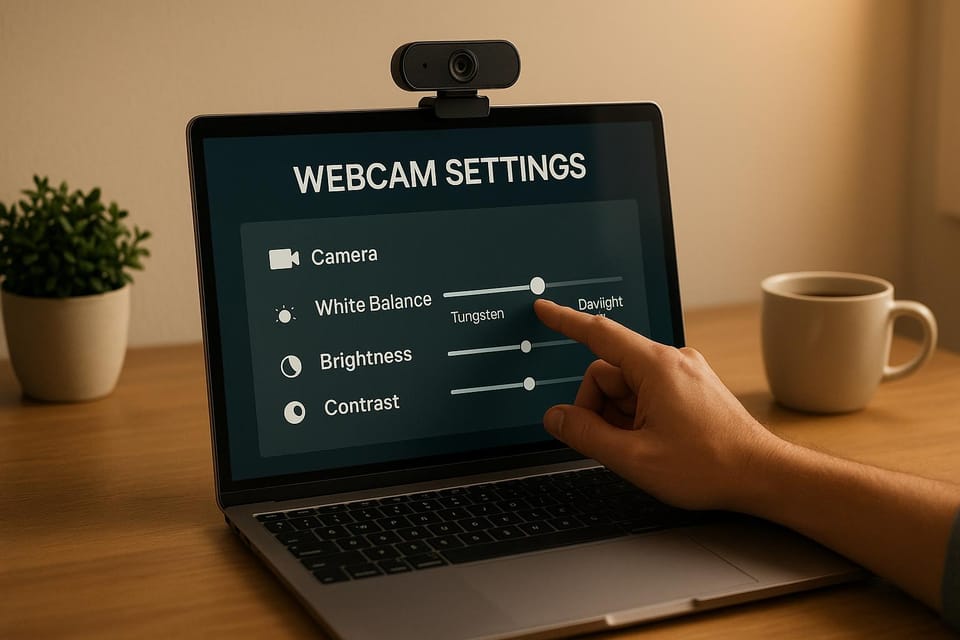
Want your video calls to look polished and professional? Start by fixing your webcam's white balance. Incorrect white balance can make skin tones look unnatural or add unwanted blue or orange tints to your video. Here's how to get it right:
- Automatic White Balance (AWB): Perfect for changing lighting conditions or quick setups. Let AI handle the adjustments for you.
- Manual White Balance: Ideal for controlled environments where color precision matters. Adjust settings like color temperature, brightness, and white point.
- Lighting Tips: Use consistent, diffused lighting and avoid mixing natural and artificial light.
- Save Settings: Create and store profiles for different lighting setups to ensure consistent results.
The Lumina 4K Webcam makes this process simple with its AI-powered software, offering both automatic and manual options. Whether you're on a video call or creating content, mastering white balance ensures natural colors and a professional appearance.
Setting A Manual Webcam White Balance in OBS Studio
White Balance Basics
Getting white balance right is crucial for natural skin tones and accurate colors during professional video calls.
Color Temperature Explained
Every light source has its own color temperature, which affects how it appears on video:
| Light Source | Color Temperature | Video Appearance |
|---|---|---|
| Candlelight | 2,000K | Very warm, orange tint |
| Indoor lighting | 2,700K - 3,000K | Warm, slightly yellow |
| Direct sunlight | 5,500K - 6,500K | Neutral white |
| Overcast sky | 6,500K - 7,500K | Cool, bluish tint |
The Lumina 4K Webcam's software automatically adjusts to these varying temperatures, ensuring your colors stay true no matter the lighting.
Automatic vs. Manual Settings
When it comes to white balance, you can choose between automatic and manual settings based on your needs.
Automatic white balance (AWB) relies on AI to adapt to changing lighting conditions. It's perfect for:
- Situations where lighting shifts throughout the day
- Quick setups without needing technical tweaks
- Video calls with different backgrounds
Manual white balance gives you full control over color temperature, making it ideal for:
- Controlled studio setups
- Maintaining consistent brand colors
- Producing professional content where color precision matters
"Our interface makes image adjustments simple. Configure your look exactly the way you want or simply click on 'auto' and let our AI do the work." - Lumina
"I needed the ability to adjust brightness, white point, and white balance, and it does it impressively." - Michael Burris
Understanding these options helps you address common color issues quickly and effectively.
Common Color Problems
White balance issues often lead to:
- A yellowish hue under indoor lighting
- A blue tint caused by LED lights or excessive natural light
- Shifting colors when different light sources mix
For photographers and content creators, the ability to fine-tune these settings ensures the best possible results every time.
Before You Start
Before diving into white balance adjustments, make sure your setup is ready to go. This means having the right lighting, up-to-date software, and the necessary tools on hand.
Setting Up Your Lights
Good lighting makes all the difference. To ensure your face is evenly lit, follow these tips:
- Place your lights about 2–3 feet from your face.
- Use diffused lighting to avoid harsh shadows.
- Stick to one type of light - don’t mix natural sunlight with indoor lamps.
Pro Tip: If you’re near a window, face it directly. This helps prevent backlighting, which can throw off your white balance.
Tools You’ll Need
To get accurate color calibration, gather these essentials:
| Tool | Purpose | Notes |
|---|---|---|
| Color card | Reference for white balance | Comes with the Lumina 4K Webcam |
| USB Type-C cable | Connects your camera | - |
| USB C-A adapter | Alternative connection | Included for compatibility |
| Consistent lighting | Maintains color temperature | Avoid flickering light sources |
The Lumina 4K Webcam includes a color card, so you’re already set for precise calibration.
Update Your Software
Make sure your system is up to date by following these steps:
- Check the Lumina firmware in the settings panel and update if needed.
- Update the webcam software and confirm your computer recognizes the drivers.
- Restart your computer to apply any updates.
Once your lighting, tools, and software are ready, you’ll be set to adjust the white balance seamlessly using Lumina's software.
Using Lumina's White Balance Tools
Lumina's software builds on white balance basics, giving you direct control with easy-to-use tools for enhancing video quality.
Finding White Balance Settings
Accessing Lumina's white balance tools is a breeze. Head to the image adjustment panel, where you'll find clearly labeled controls for tweaking your video’s color temperature. From there, you can experiment with preset options or create custom settings to refine your image.
Preset and Custom Settings
Lumina provides multiple ways to adjust white balance, depending on your needs:
| Setting Type | Ideal For | Features |
|---|---|---|
| AI Auto-Adjust | Quick adjustments | One-click setup with AI-driven color correction |
| Manual Control | Precise fine-tuning | Adjust white point and temperature with detailed control |
| Custom Presets | Frequent scenarios | Save settings for fast switching between environments |
Start with the AI auto-adjust feature for a quick setup. If needed, you can manually fine-tune brightness, white point, and color temperature to match your specific lighting. Once you’re happy with the results, save these settings for easy access later.
Storing Your Settings
Once you've nailed the perfect white balance, save your settings for future use. This is especially handy if you often move between different lighting setups. Lumina's software can store profiles tailored to various conditions, ensuring your video quality stays consistent whether you’re in a home office, studio, or outdoor setting.
Fixing White Balance Problems
White balance issues can throw off the look of your video, making it appear unnatural or inconsistent. Here’s how to address these challenges and ensure your video looks clear and professional.
Multiple Light Sources
Dealing with mixed lighting - like combining natural daylight with artificial light - can lead to unwanted color casts. To keep your lighting consistent and avoid these issues:
- Reduce competing light sources: Stick to one type of lighting (natural or artificial) and match the color temperature of your lights.
- Position your lights effectively: Place your main light source in front of you and use secondary lights to fill in any shadows.
- Adjust manually if needed: Experiment with manual white balance settings to fine-tune the colors.
If your video still looks off, it might be time to reset your settings and start fresh.
Starting Over
When manual adjustments don’t do the trick, resetting your settings can help. The Lumina Studio App makes this easy with its quick reset feature and adjustable settings. Here’s a recommended starting point:
| Setting | Value |
|---|---|
| Warmth | 128 |
| Hue | 8 |
| Saturation | 65 |
| Brightness | 10 |
| RGB Values | 128 (all) |
Once reset, you’ll be better equipped to work within the capabilities of your camera.
Camera Limits
Standard webcams often struggle with complex lighting setups, leading to inaccuracies in white balance. The Lumina 4K Webcam, however, is designed to handle these challenges with advanced image processing features. To get the most out of it:
- Use Scene Mode: Let the camera handle Exposure Level and White Balance automatically for most scenarios.
- Fine-tune details: If your video looks grainy, adjust the Person Sharpness setting to improve clarity.
- Save custom profiles: Create and save profiles for different lighting conditions to ensure consistent results.
Thanks to Lumina’s AI-powered processing, achieving accurate white balance is easier, even in tricky lighting environments.
Conclusion
Getting white balance right is the secret to producing videos with natural colors and a polished, professional look.
To put this into practice, start by understanding your lighting environment and using the right tools. The Lumina 4K Webcam makes this easier with its AI-powered Scene Mode, which automatically adjusts white balance to match your surroundings. If you prefer manual control, try these baseline settings: Warmth 128, Hue 8, Saturation 65, Brightness 10.
White balance isn't just a technical detail - it plays a key role in maintaining your professional image by keeping your audience focused on your message, not distracting color issues. The Lumina Studio App also lets you save custom profiles for different lighting conditions, ensuring your video quality stays consistent no matter the setting.
Here are a few quick tips to keep your white balance on point:
- Check regularly: Before important calls, make sure your white balance is calibrated, especially if the lighting has changed.
- Stick to consistent lighting: A stable lighting setup reduces the need for constant adjustments.
- Save profiles: Use the app to create white balance profiles for different times of day or unique environments.
FAQs
How does the Lumina 4K Webcam's AI-powered white balance adjust to changing lighting during video calls?
The Lumina 4K Webcam takes the hassle out of achieving perfect video quality by using advanced AI to adjust white balance in real-time. No matter if you're sitting in a shadowy corner or bathed in bright sunlight, this smart feature ensures your video stays natural and well-balanced.
With this automatic adjustment, you won’t need to fiddle with settings. It keeps your image consistent and true to life, leaving you free to focus entirely on your call.
What are the advantages of using manual white balance settings over automatic ones for professional video content?
Using manual white balance settings gives you the power to refine color tones in your video, keeping them consistent and natural even as lighting conditions change. Automatic settings, while convenient, can sometimes misjudge these changes, resulting in awkward or unnatural color shifts.
Manually tweaking the white balance helps you create a polished, professional appearance - especially in situations with mixed or unpredictable lighting. This kind of control is a game-changer for creators, streamers, and professionals who want their content to look sharp and visually engaging.
How can I optimize my lighting setup for accurate white balance with the Lumina 4K Webcam?
To get the best white balance with your Lumina 4K Webcam, start by setting up a consistent lighting environment. Stick to one type of light - either warm (yellow) or cool (blue) - since mixing them can throw off the camera's white balance. Natural daylight is a great option, but if you're using artificial lighting, go for soft, diffused lights to avoid harsh shadows.
Make sure your lighting is evenly distributed across your workspace. A front-facing light, like a ring light or desk lamp, is especially helpful for evenly lighting your face. Once your lighting is set, use the Lumina software to tweak the white balance settings and fine-tune the colors. This ensures your video looks both natural and polished.
Related posts
- 7 Best Webcam Settings for Professional Video Calls
- How to Position Your Webcam for Better Video Calls
- 5 Tips for Adjusting Webcam Color Balance
- Color Temperature vs. White Balance: Key Differences