Ultimate Guide to Stream Overlays and Effects
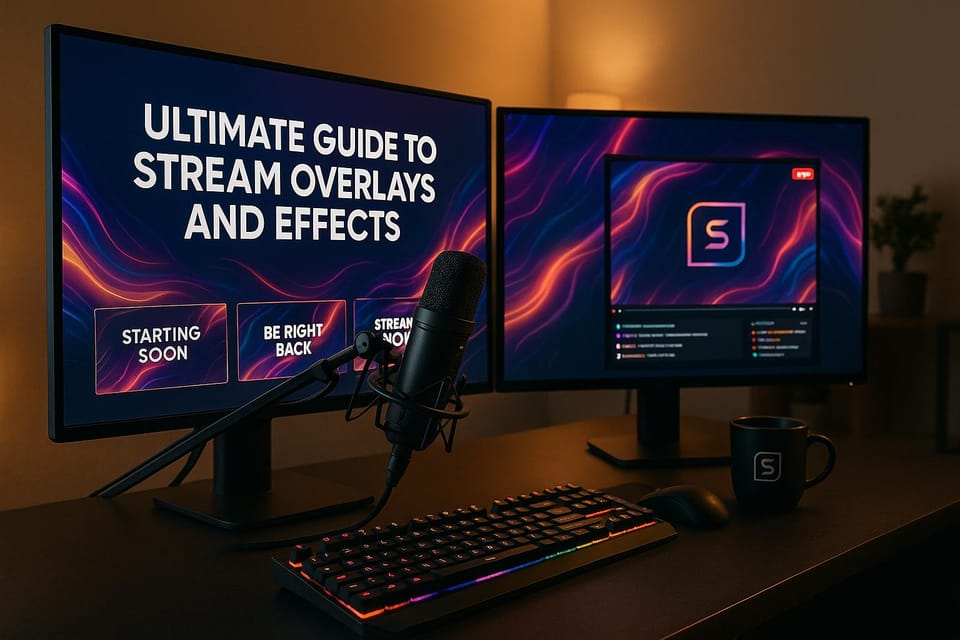
Stream overlays and effects make your streams look polished, professional, and engaging. They include webcam frames, alerts, chat boxes, and animations that enhance your video content. Here's what you need to know:
-
Why Use Overlays and Effects?
They grab attention, build brand identity, and encourage interaction with features like alerts and information displays. -
Key Elements of Overlays:
- Webcam Frames: Position your webcam for clarity and use tools like the Lumina 4K Webcam for sharp visuals.
- Dynamic Alerts: Highlight new followers, subscriptions, and donations in real-time.
- Stream Info Displays: Show recent events, social media links, and chat boxes.
-
Setup Tips:
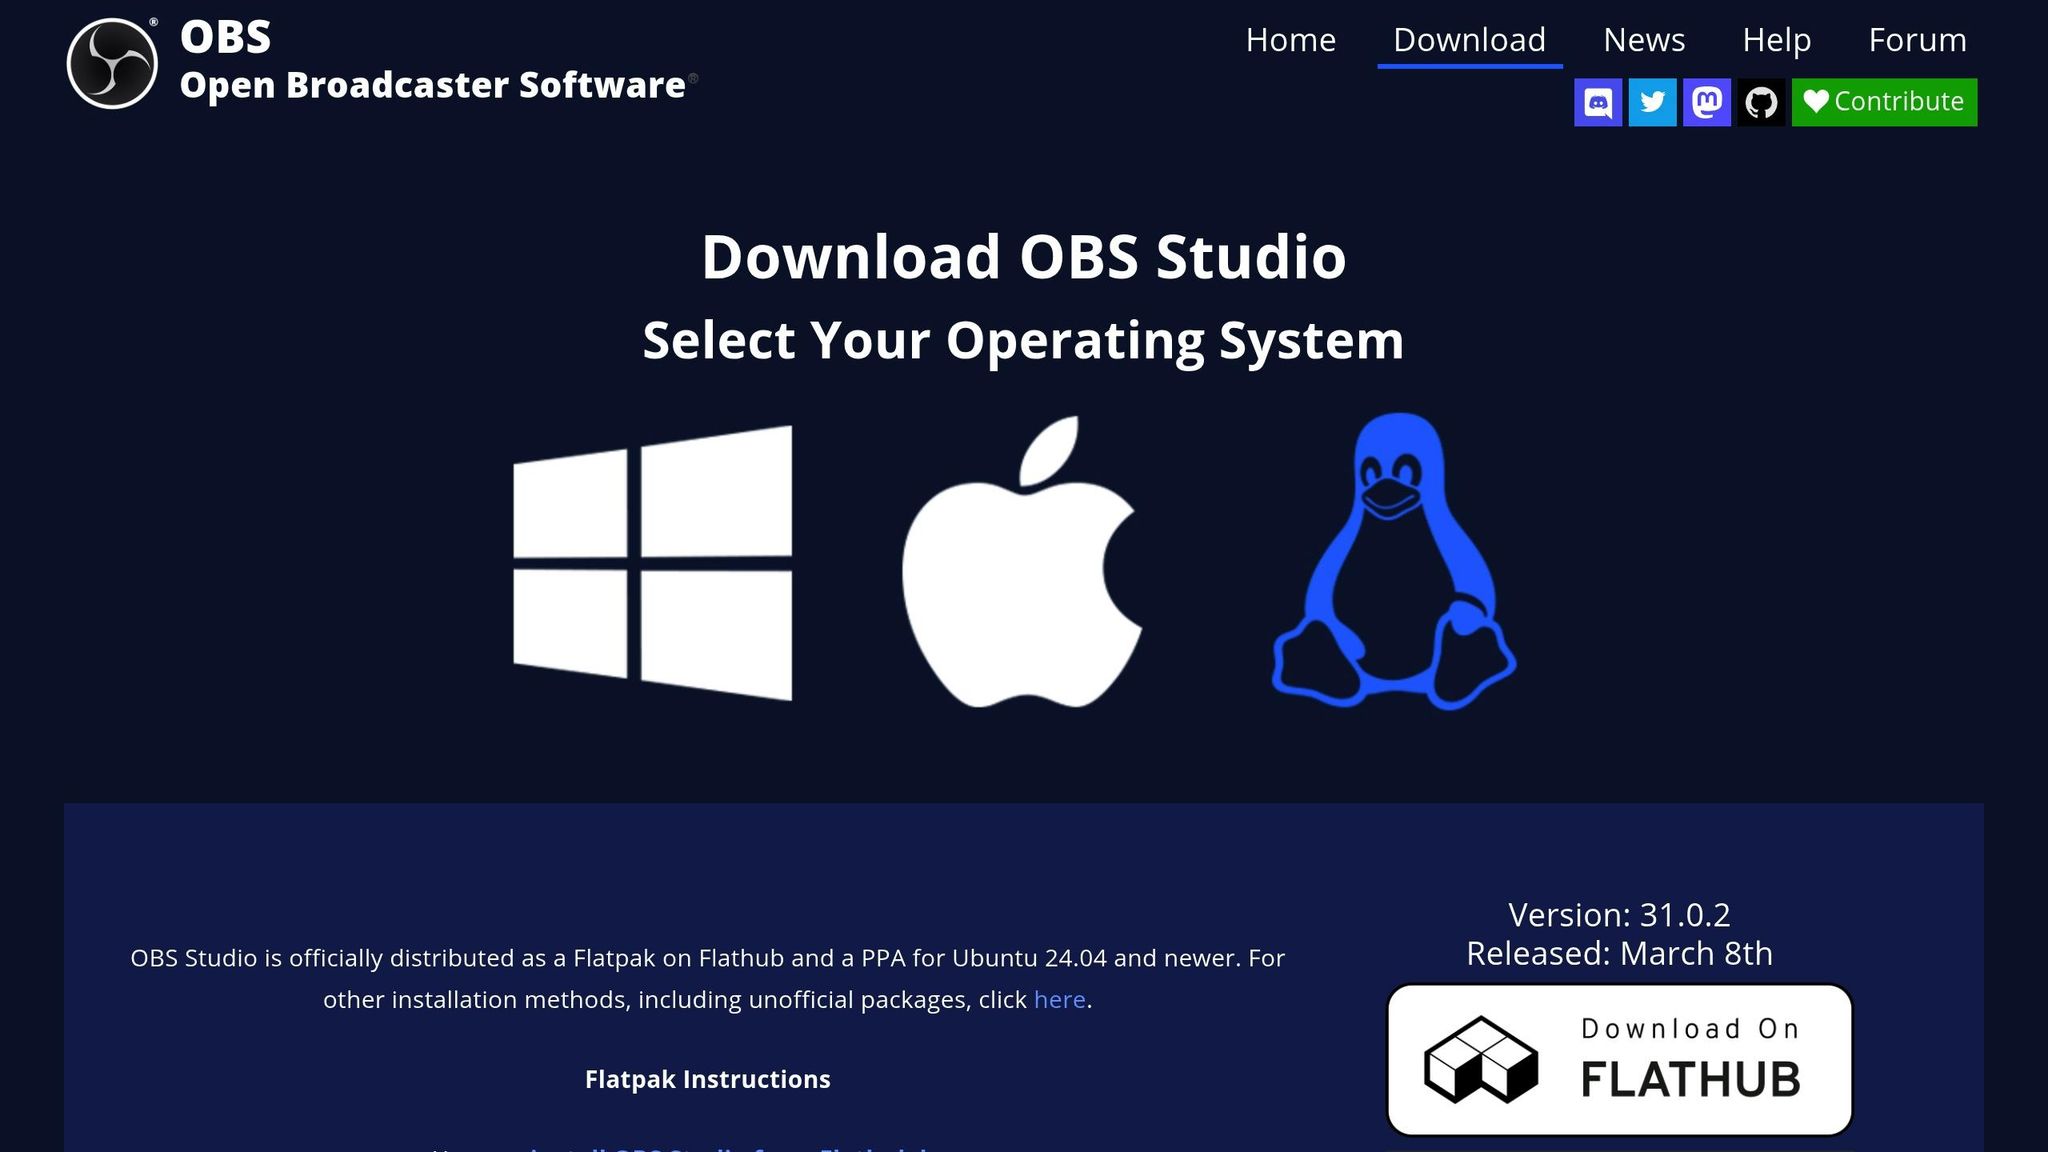
Platforms like OBS Studio, Streamlabs, and StreamElements make it easy to configure overlays. Add sources, customize themes, and fine-tune widgets to match your style. -
Advanced Effects:
Use AI-powered cameras for background bokeh and auto-framing. Add smooth transitions and animations to keep your stream flowing. -
Maintenance:
Regularly update and test overlays to ensure everything works seamlessly. Optimize file sizes and system performance for smooth streaming.
Stream overlays and effects aren't just decoration - they're tools to make your content stand out and keep your audience engaged. Whether you're a gamer, educator, or professional, these tips will help you create a visually appealing and interactive stream.
OBS Studio For Brand New Streamers (Setup Overlays, Alerts, and MORE)
Main Overlay Components
The backbone of any professional stream lies in its overlay elements, which are key to creating an engaging and visually appealing experience.
Webcam Display Setup
Your webcam feed is your direct connection to the audience, making its placement and quality critical. Position it in a way that ensures both you and your content are clearly visible.
For top-notch video quality, consider using the Lumina 4K AI-powered camera. Its depth-sensing capabilities and smart adjustments deliver sharp, professional visuals.
"You simply won't find a better webcam than the Lumina. It's hands-down the highest quality at the most reasonable price, with features that make you like a podcasting pro!"
Here are a few popular webcam placement options to suit different streaming styles:
- Top corner: A classic choice, especially for gaming streams.
- Bottom third: Works well for educational or instructional content.
- Side panel: Ideal for desktop tutorials or walkthroughs.
Once your webcam is set up, adding dynamic alerts can take your stream's interactivity to the next level.
Notification Graphics
Dynamic notification graphics are essential for keeping viewers engaged. They highlight key interactions like new followers, subscriptions, or donations in real time, making your audience feel appreciated.
| Alert Type | Recommended Duration | Suggested Position |
|---|---|---|
| New Follower | 3-5 seconds | Upper screen |
| Subscription | 5-7 seconds | Center screen |
| Donation | 5-10 seconds | Center-bottom |
| Chat Highlight | 3-4 seconds | Side panel |
Customizing these alerts to match your stream’s theme adds a polished and professional touch.
Stream Information Displays
Stream overlays aren't just about aesthetics - they also provide useful information for viewers. Here are some key elements to include:
- Recent Events List: Showcasing your latest followers, subscribers, and donations.
- Social Media Links: Displaying your Twitter, Instagram, and Discord handles.
- Stream Goals: Highlighting follower or subscription milestones.
- Chat Box: Featuring a live feed of audience messages.
Overlay Software Setup Steps
Once you've laid the groundwork for your overlay design, the next step is configuring your streaming software. Here's how to set up your overlays in OBS Studio, Streamlabs, and StreamElements.
OBS Studio Setup Guide
Start by configuring your overlays step by step:
-
Add Your Sources
Click the "+" button in the "Sources" section and choose:- Video Capture Device to add your webcam feed. The Lumina 4K Webcam connects effortlessly via USB-C.
- Browser for dynamic overlays like alerts or animations.
- Image for static graphics, such as logos or banners.
-
Organize Scenes
Create different scenes tailored for your stream, such as:- Gameplay
- Starting Soon
- Break
- Ending
-
Manage Layer Order
Arrange your overlay layers strategically:- Place your webcam feed above the gameplay.
- Keep alerts at the very top for visibility.
- Position static elements like borders in the middle.
- Set your main content (e.g., gameplay or screen share) as the base layer.
Streamlabs Configuration
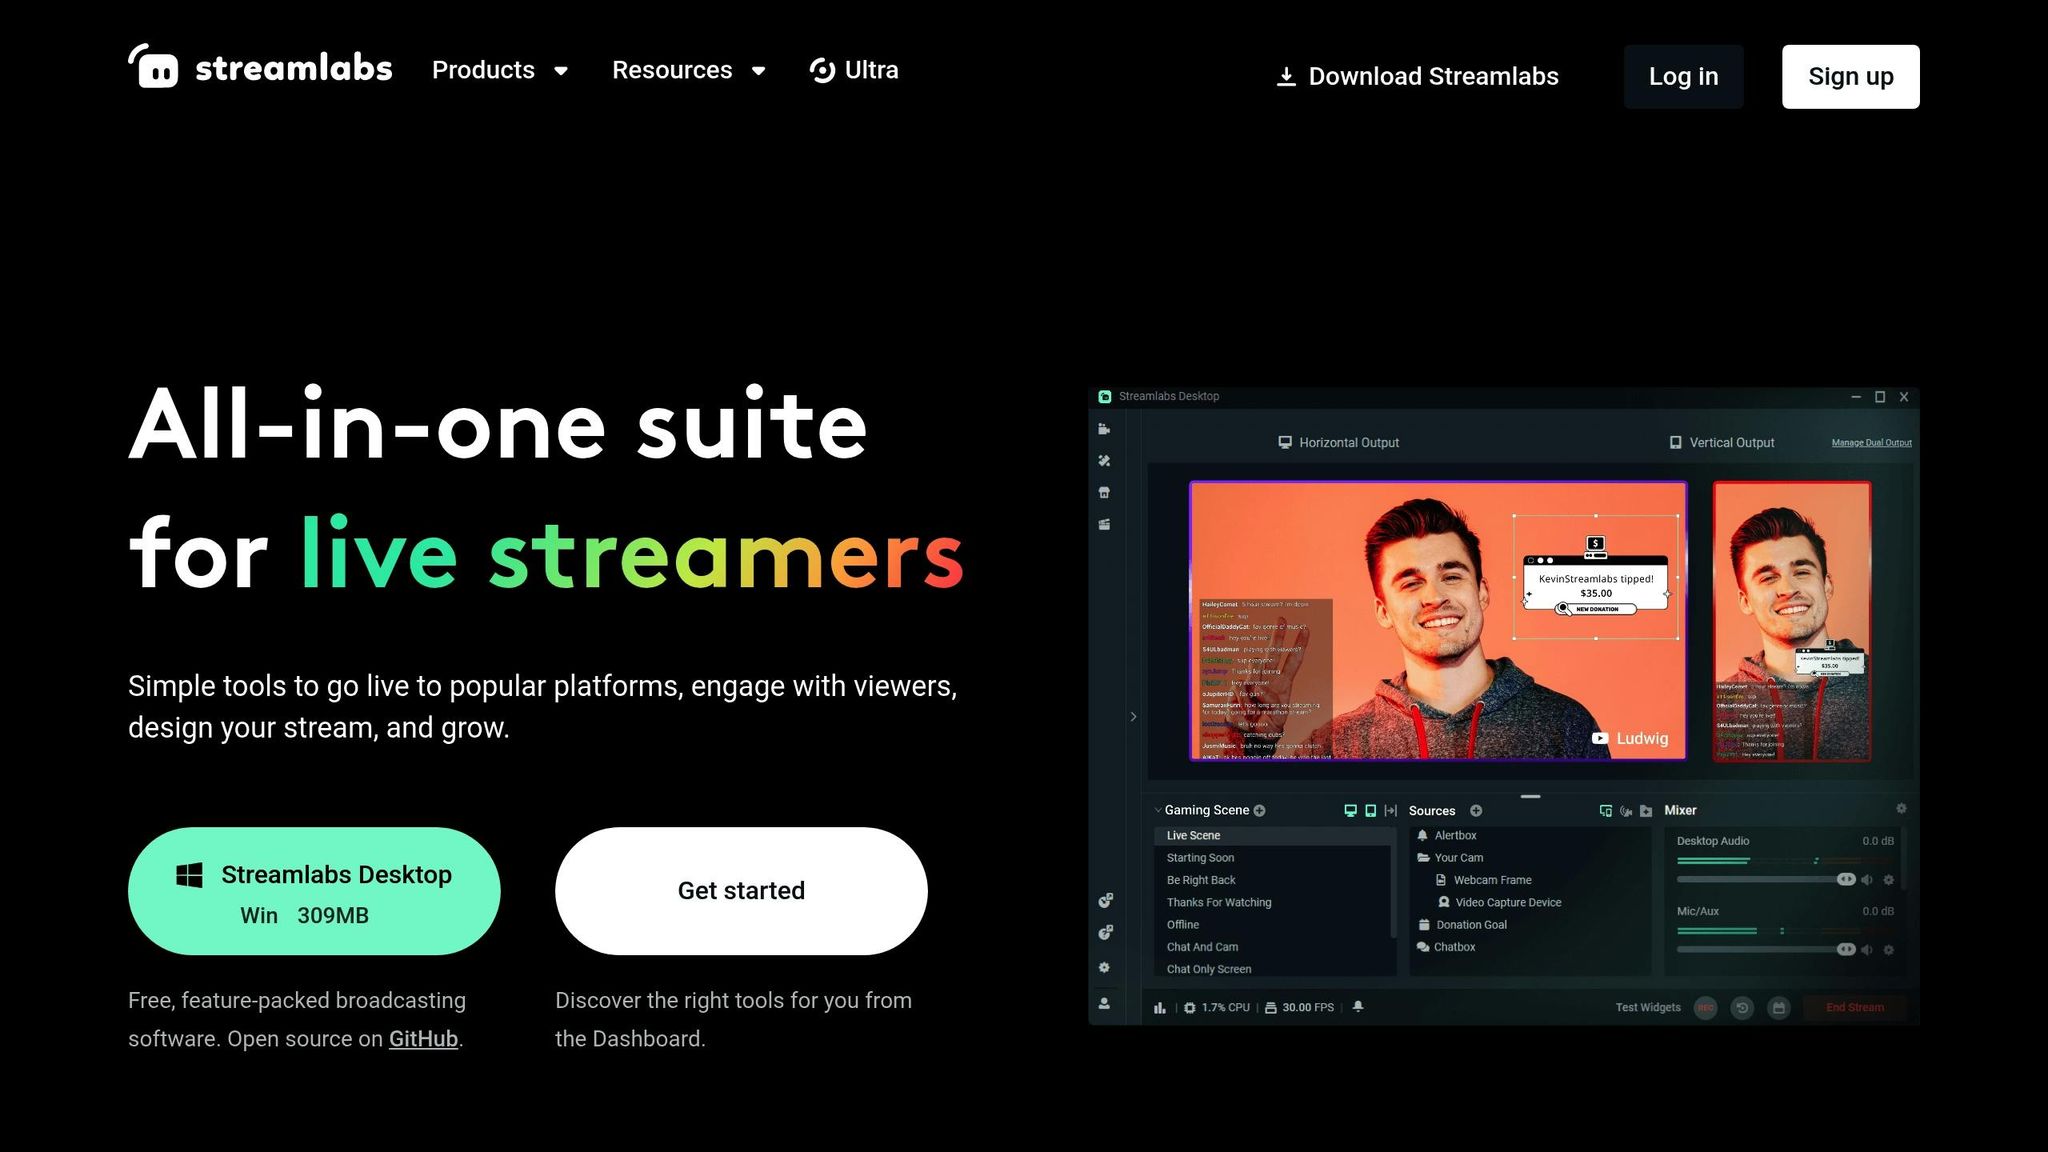
Streamlabs simplifies the setup process with its user-friendly interface:
-
Choose a Theme
Browse the Theme Library to find a design that fits your style. Once selected, import it and customize the colors and animations to match your branding. -
Set Up Alerts
Fine-tune your Alert Box by:- Adjusting notification timing and sound levels.
- Adding custom triggers for specific events like follows or donations.
-
Add Widgets
Enhance viewer engagement by integrating widgets such as:- A live viewer count.
- A chat overlay for real-time interaction.
- Donation goals to encourage support.
StreamElements Setup
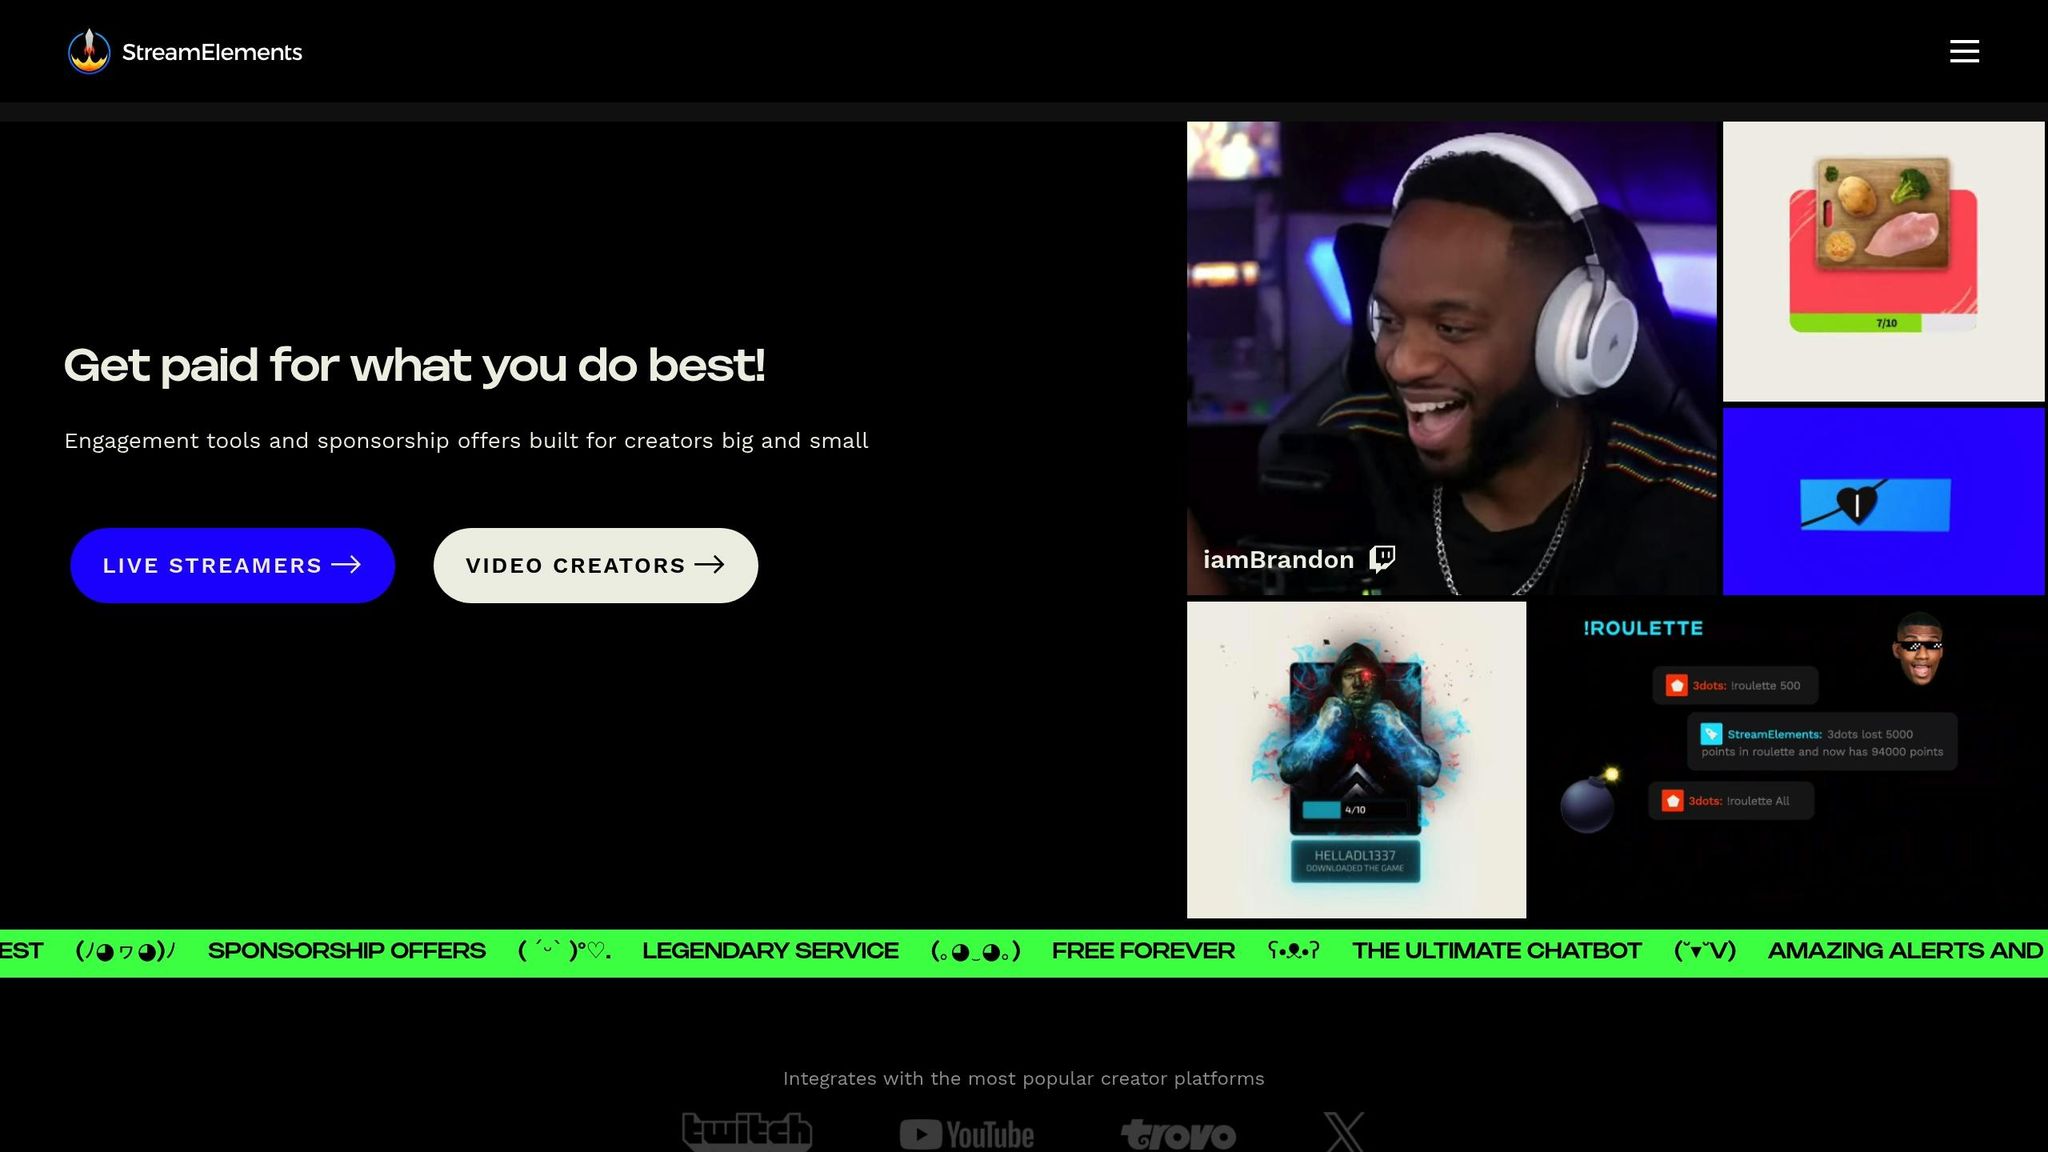
For a cloud-based solution, StreamElements offers robust overlay management:
-
Create Your Overlay
Start with "Create New Overlay", then:- Set your canvas dimensions (e.g., 1920x1080 for full HD).
- Use a pre-designed template or build from scratch.
-
Configure Widgets
Add interactive elements like:- Event lists to show recent activity.
- Loyalty point displays for rewarding viewers.
- Integrated chat for seamless communication.
-
Apply Custom CSS
Personalize your overlays further by:- Incorporating your brand colors.
- Adjusting animation speeds for smooth transitions.
- Perfecting element placement to avoid clutter.
No matter which platform you choose, consistency in branding and thorough testing are key. Make sure your overlays enhance the viewing experience without covering important content.
Professional Visual Effects
Take your overlay design to the next level with advanced visual effects that add a polished touch to your stream. These enhancements go beyond the basics, refining how your stream tells its story visually.
AI Camera Effects
AI-powered technology brings depth and clarity to your video feed, ensuring a professional look:
- Background Bokeh: Create a soft, natural blur that keeps the focus on you while minimizing distractions in the background.
- Auto-Framing: Stay perfectly centered on screen, even if you're moving around, with an AI camera that adjusts the frame automatically.
- Image Enhancement: An 8.3 MP sensor paired with advanced AI processing ensures sharp, crystal-clear video quality.
Light and Color Settings
Good lighting and accurate color balance are essential for a professional-looking stream. Here’s how you can fine-tune your visuals:
- White Balance Adjustment: Adjust white balance for true-to-life colors. Photographer Michael Burris shared his experience, saying:
"I needed the ability to adjust brightness, white point and white balance and it does it impressively".
- Dynamic Light Compensation: Lumina's software adapts automatically to tricky lighting situations, keeping your video well-lit and clear.
- Color Grading: Fine-tune contrast, saturation, and temperature to create a consistent visual tone that matches your stream's mood.
These tweaks, combined with smooth transitions, can tie everything together seamlessly.
Scene Transitions
Well-executed scene transitions keep your stream flowing smoothly and professionally:
- Stinger Transitions: Add custom animated overlays to connect different segments, like switching from your camera to gameplay or presentation slides.
- Fade Effects: Use gradual fades for seamless transitions, especially during slower-paced moments.
- Motion Graphics: Incorporate short, eye-catching animations (under 2 seconds) to enhance your stream's aesthetic and keep your audience engaged.
These effects and transitions work together to elevate your stream's overall presentation.
Overlay Management
Once you've set up your overlays, keeping them running smoothly is key to maintaining a polished and engaging stream. Proper management not only enhances the visual appeal but also ensures your stream operates without a hitch.
Performance Tips
To keep your stream running efficiently, it's important to optimize your system resources. Here are a few ways to do that:
- Use transparent image formats like PNG and compress file sizes to reduce resource usage.
- Limit the number of active browser sources to avoid overloading your CPU.
- Keep an eye on system performance metrics to catch any potential bottlenecks early.
Common Problems and Solutions
Even with careful planning, overlay issues can pop up. Here's how to address some common challenges:
Misaligned Graphics
- Make sure your source resolution matches your canvas size.
- Maintain consistent scaling across all elements.
- If things look off, refreshing your browser sources often resolves misalignment.
Delayed Notifications
- Check and adjust alert delay settings within your streaming software.
- Ensure your internet connection is stable to avoid lag.
- Monitor your system’s performance to rule out resource-related delays.
For the best results, ensure your overlay layouts are optimized for high-resolution feeds, like those from the Lumina 4K Webcam. Regular maintenance can prevent problems from becoming recurring headaches and keeps your overlays looking sharp.
Update Schedule
Staying on top of overlay updates is essential for keeping your stream fresh and professional. Here's a suggested schedule:
Weekly Tasks:
- Test all interactive elements to ensure they function as expected.
- Clear the browser source cache to improve performance.
- Update any time-sensitive information, such as event schedules or announcements.
Monthly Tasks:
- Review branding elements to ensure they align with your current style and messaging.
- Check for compatibility between your overlays and streaming software updates.
- Back up your overlay configurations to avoid losing your setup.
Quarterly Tasks:
- Evaluate the overall design of your overlays and make improvements if needed.
- Refresh seasonal themes to keep your stream visually appealing.
- Experiment with new features or effects to enhance viewer experience.
Conclusion
Main Points Review
Creating professional stream overlays is both a technical and creative endeavor. Every detail, from selecting the right components to ensuring smooth performance, plays a role in delivering an engaging experience for your viewers. Striking the perfect balance between eye-catching visuals and reliable system performance is essential to maintaining a polished and professional streaming setup.
Customization Tips
Your stream should showcase your personal brand and style. Build a cohesive look by aligning all overlay elements - like notification graphics and info displays - under a unified theme. Tools like the Lumina 4K Webcam’s advanced image adjustment software can help you maintain consistent, high-quality visuals that match your brand’s identity.
Stream Quality Tips
To achieve professional-grade streaming, both hardware and software need to work in harmony. Here are some critical factors to keep in mind:
| Quality Factor | Tips |
|---|---|
| Video Quality | Opt for high-resolution cameras like the Lumina 4K Webcam, which offers a customizable 65–95° field of view. |
| Image Settings | Fine-tune brightness, white balance, and background bokeh with dedicated software for a polished look. |
| System Performance | Regularly monitor CPU usage and adjust settings to ensure overlays run smoothly without hiccups. |
| Regular Maintenance | Update your software frequently and check overlay functionality to avoid technical issues during streams. |
FAQs
What should I consider when selecting stream overlay elements to reflect my brand and engage viewers?
Choosing the right stream overlay elements plays a big role in building a strong brand identity and keeping your audience interested. Start by picking overlays that match your brand’s color palette, logo, and overall vibe. This consistency gives your stream a polished look that viewers will easily recognize and remember.
To make your stream more engaging, consider adding dynamic features like animated alerts for new followers, subscribers, or donations. These interactive touches not only make your stream feel lively but also encourage viewers to join in. At the same time, avoid overcrowding your screen - keep essential elements like chat boxes and webcam frames clean and easy to follow.
For a sharp and professional finish, pair your overlays with high-quality tools like the Lumina 4K Webcam. Its crisp visuals and depth-sensing tech for background bokeh effects can elevate the look of your stream, creating a more immersive experience for your audience.
What are common problems with stream overlays, and how can I fix them?
Stream overlays sometimes face hiccups, but the good news is that most issues are straightforward to fix. You might encounter problems like misaligned elements, laggy overlays, or compatibility glitches with your streaming software.
Here’s how to troubleshoot:
- Check your resolution and aspect ratio: Make sure your overlays are designed to match your stream’s resolution and layout. This prevents distortion or elements being out of place.
- Optimize your system's performance: Overlays can lag if your computer is overloaded. Close unnecessary programs or reduce your stream settings to free up system resources.
- Confirm compatibility: Double-check that your streaming software supports the overlay file formats you’re using (e.g., .PNG, .GIF). Also, ensure all files are correctly imported.
If you're looking to elevate the visual quality of your stream, tools like the Lumina 4K Webcam can be a game-changer. With its depth-sensing technology and AI-powered features, it can enhance your stream’s visuals, making your overlays look even more seamless.
How often should I update my stream overlays, and what steps can I take to maintain them effectively?
To keep your stream overlays looking sharp and engaging, consider updating them whenever you make major adjustments to your branding, content style, or target audience. For most streamers, a good rule of thumb is to review and refresh overlays every 3-6 months. This helps ensure they stay relevant and visually appealing.
On the maintenance side, it’s important to routinely check for technical hiccups like misaligned elements or glitches in animations. Make sure your software is always up-to-date to avoid compatibility issues, and optimize your overlay files to keep your streams running smoothly. These simple steps go a long way in maintaining a polished and professional appearance for your content.
Related posts
- Webcam Background Effects: A Complete Guide
- Ultimate Guide to Lighting for Virtual Backgrounds
- How to Position Your Webcam for Better Video Calls
- Ultimate Guide to Home Office Background Design